


Recently I just published my portfolio at no cost, more about that in the next blog. I had troubleshot with configuring the Custom Domain on GitHub, here I am going to discuss how easy it is to config your Custom Domain on GitHub.
Before we jump to DNS configuration, let me walk through the setup that is required. Here are the following things I used for my setup.
- GitHub Pages for code hosting
- .Tech Domain with a free ssl certificate
you could use any other domain providers like Namecheap, Name.com, GoDaddy, etc.
Part A
DNS Configuration
DNS stands for Domain Name System. Since we cannot remember the IP address of the websites hosted we use the domain name, which is mapped to these IP addresses.
- where www : is a label
- hosteddomain: second-level domain
- com: a top-level domain.
Lets us see how we can config now
- login to your domain provider dashboard, this is how it appears for .tech domains.
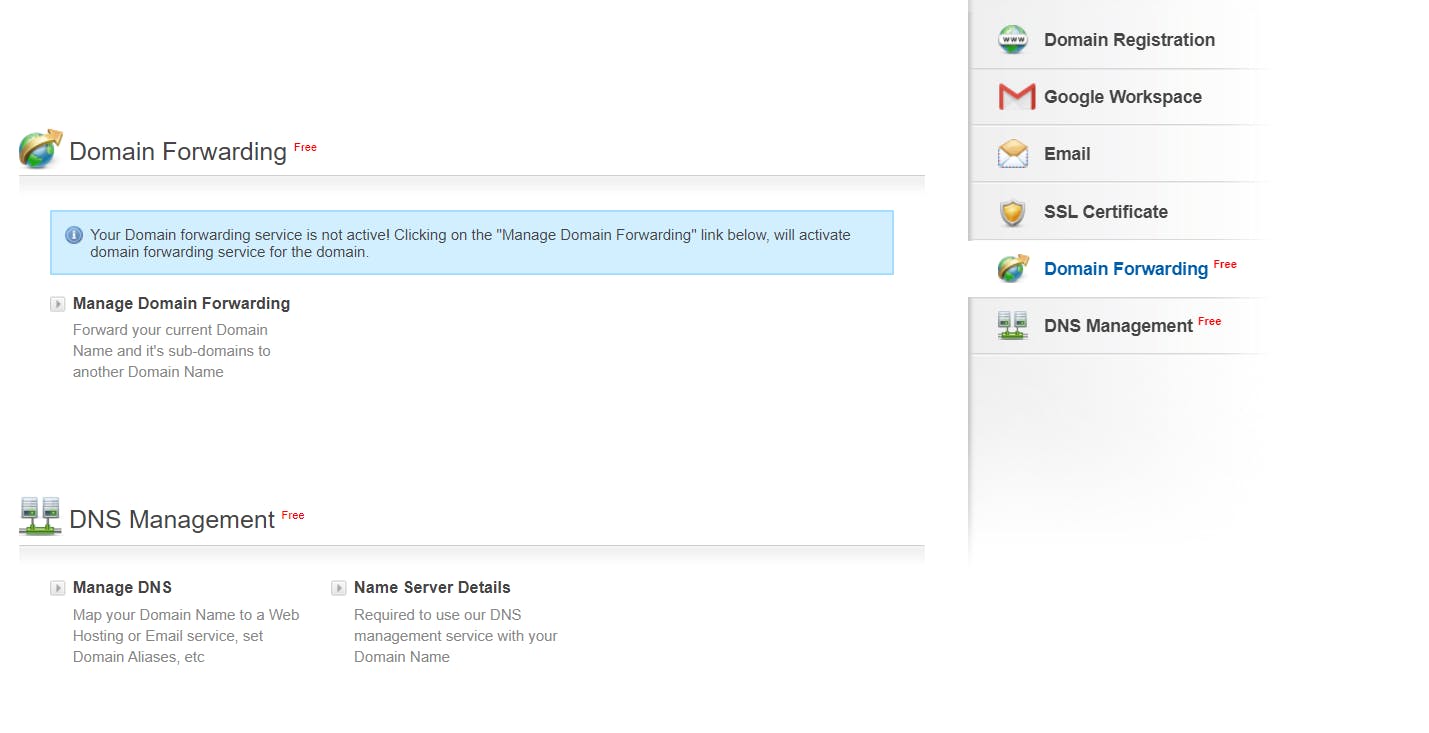
- click on Manage DNS
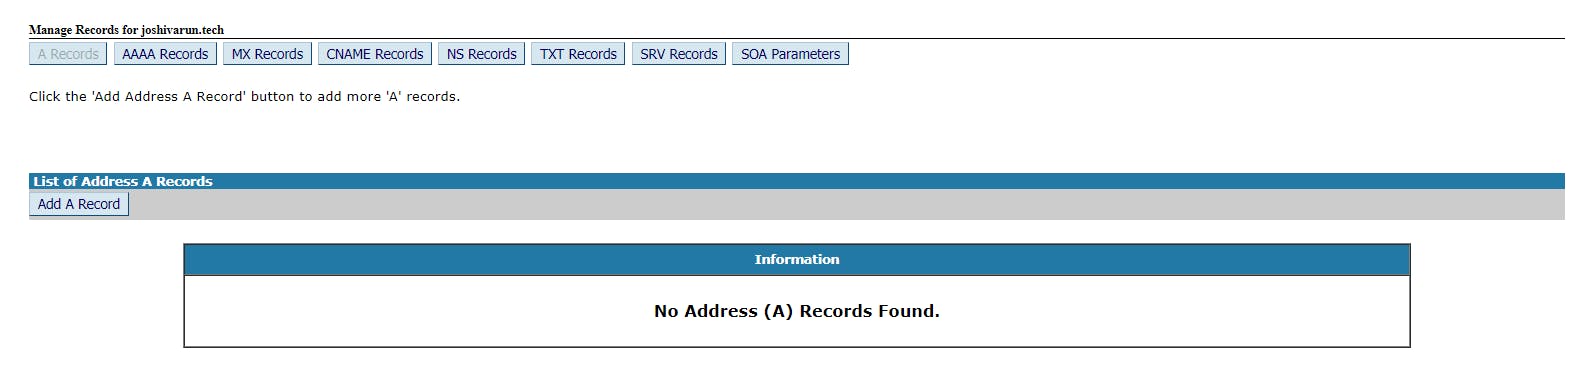
- you will be redirected to another window with such an interface. we can see that there are lot of different ways to setup a dns
There are two ways to configure the dns for GitHub custom domain.
1. A Records
A-records point to a specific IP address. Subdomains sometimes have A-records too. An A-record can point to any IP address.
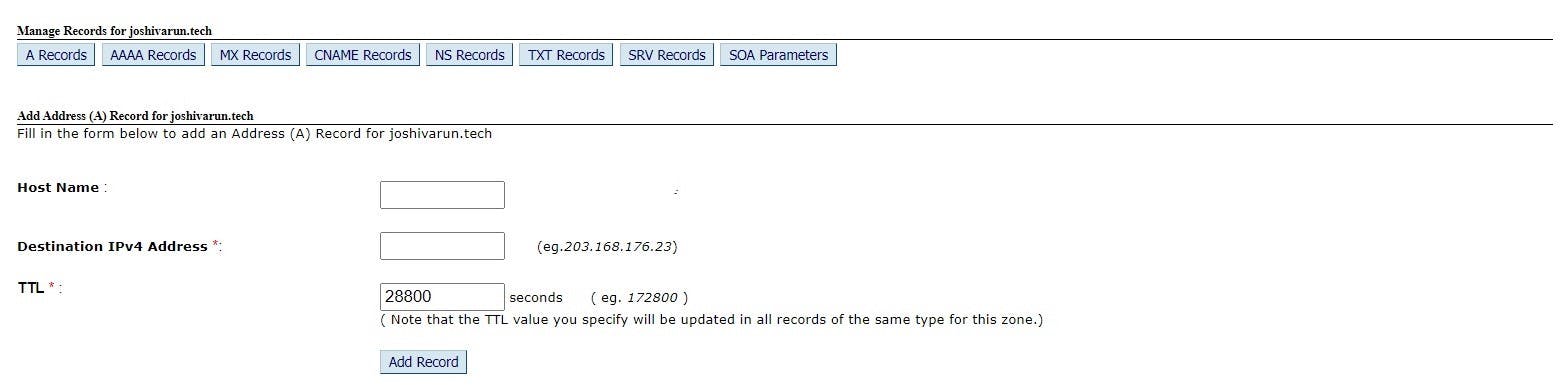
- click on add record
- add value as @
in the value provide the IP address provided by GitHub. You will need to add all these IP addresses by creating 4 different records.
185.199.108.153
185.199.109.153
185.199.110.153
185.199.111.153
these are the IP addresses provided by the GitHub.
add ttl value
what is ttl value ?
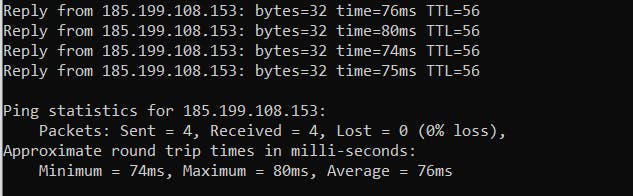
Time To Live is the sort of expiration date that is put on a DNS record. The TTL serves to tell the recursive server or local resolver how long it should keep said record in its cache. You can get the TTL value by pinging an address.
you can provide any value above 7200s for your sites.
ping www.example.com
here is how example how it looks.
2. C Name
CNAME-Records (Canonical Domain Records) – CNAMEs should always point to an A-record, not another. It is one of the easy ways to config your dns.
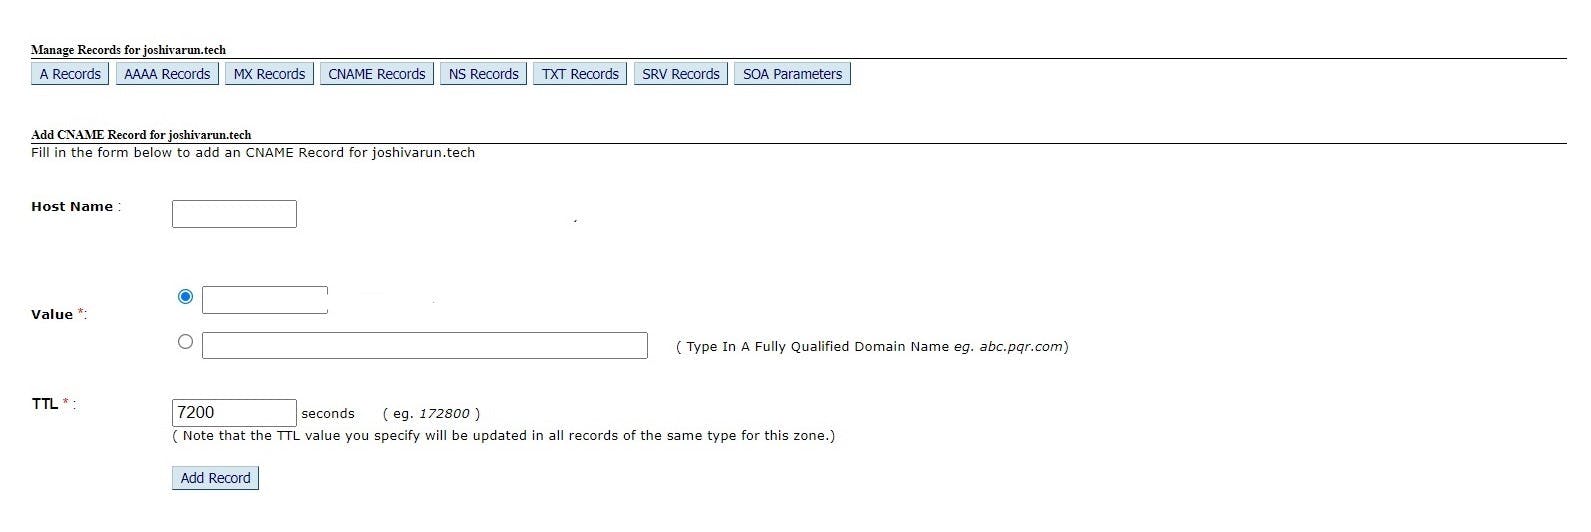
leave the host link blank
select the value ,second radio button to point to your GitHub account
yourusername.github.io.
- add ttl value anything in mins.
If you are using CNAME or ALIAS records for your custom domain, you’re all set and your site should be accessible over HTTPS. If it is, and your site loads correctly over HTTPS, you can optionally enforce HTTPS in your repository’s settings. Users who request your site over HTTP will be upgraded to HTTPS.
check if your DNS is configured
dig www.example.com

> WWW.EXAMPLE.COM.                 IN      A
> WWW.EXAMPLE.COM          39812 IN   CNAME   YOUR-USERNAME.github.io.
> YOUR-USERNAME.github.io. 43192 IN      CNAME    GITHUB-PAGES-SERVER .
Part B
GitHub Setup
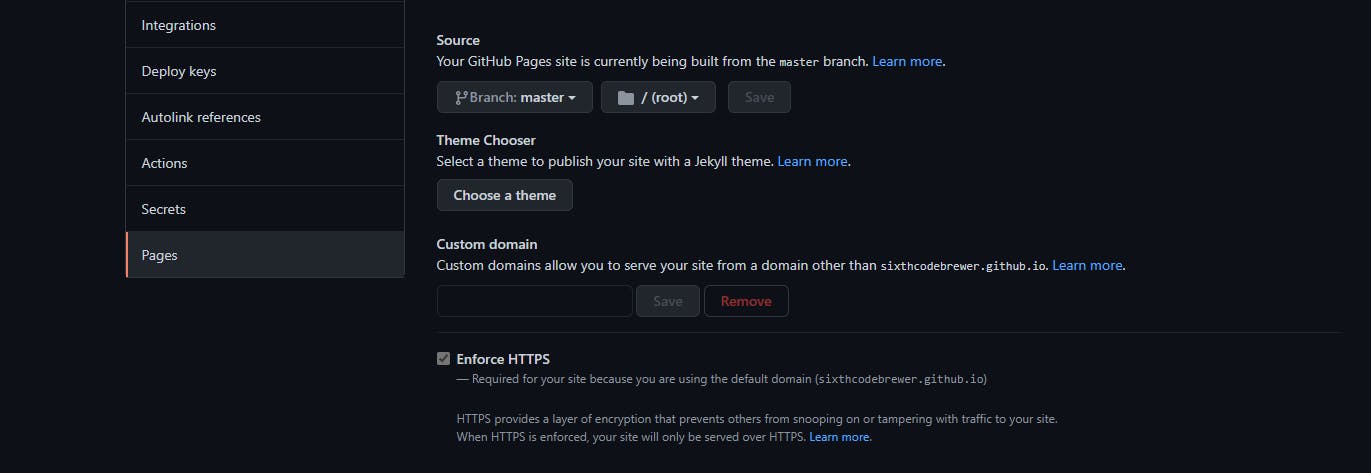
Go to your GitHub Repository settings.
Click on Pages.
Add your Custom Domain.
- Click on Save
- wait for GitHub to do Magic!
- if you face any error we will troubleshoot in end of the section.
- GitHub will push CNAME file pointing to your domain name,If not you can create CNAME file.
- add your domain name
- commit the file If you use a static site generator to build your site locally and push the generated files to GitHub, pull the commit that added the CNAME file to your local repository.
Troubleshot errors
1.DNS misconfiguration
2.InvalidDNSError example.tech is improperly configured Domain's DNS record could not be retrieved. For more information, see Learn more (InvalidDNSError). We recommend you change this to a CNAME record pointing to username.github.io.
How to troubleshot
Check your CNAME FILENAME.(it should be in uppercase)
Check if your GitHub Setup is configured properly.
Confirm your settings
Domain Propagation Delay Occurs so wait for 24 to 48 hours to let your website to be live.